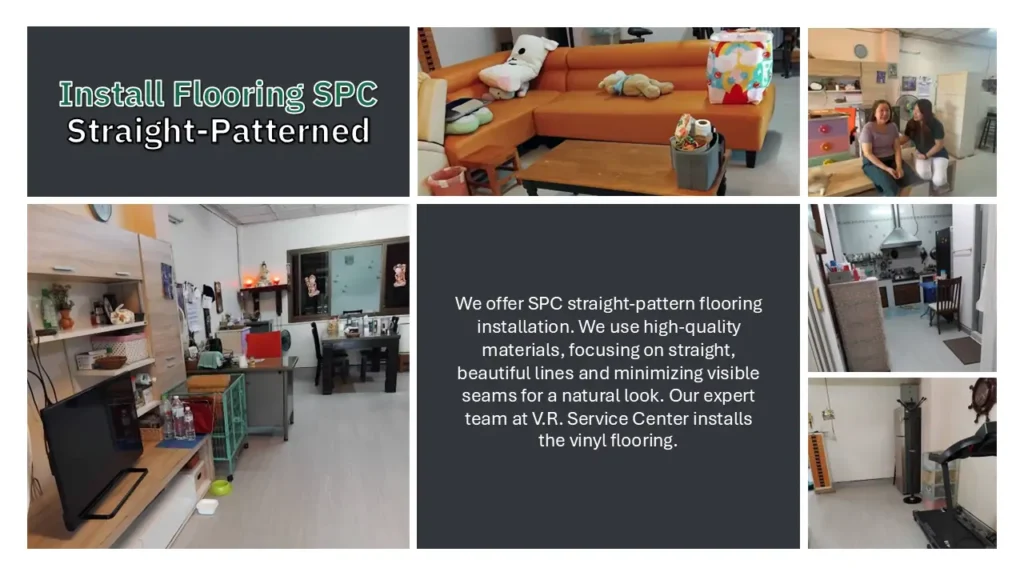
We offer SPC straight-pattern flooring installation. We use high-quality materials, focusing on straight, beautiful lines and minimizing visible seams for a natural look. Our expert team at V.R. Service Center installs the vinyl flooring.
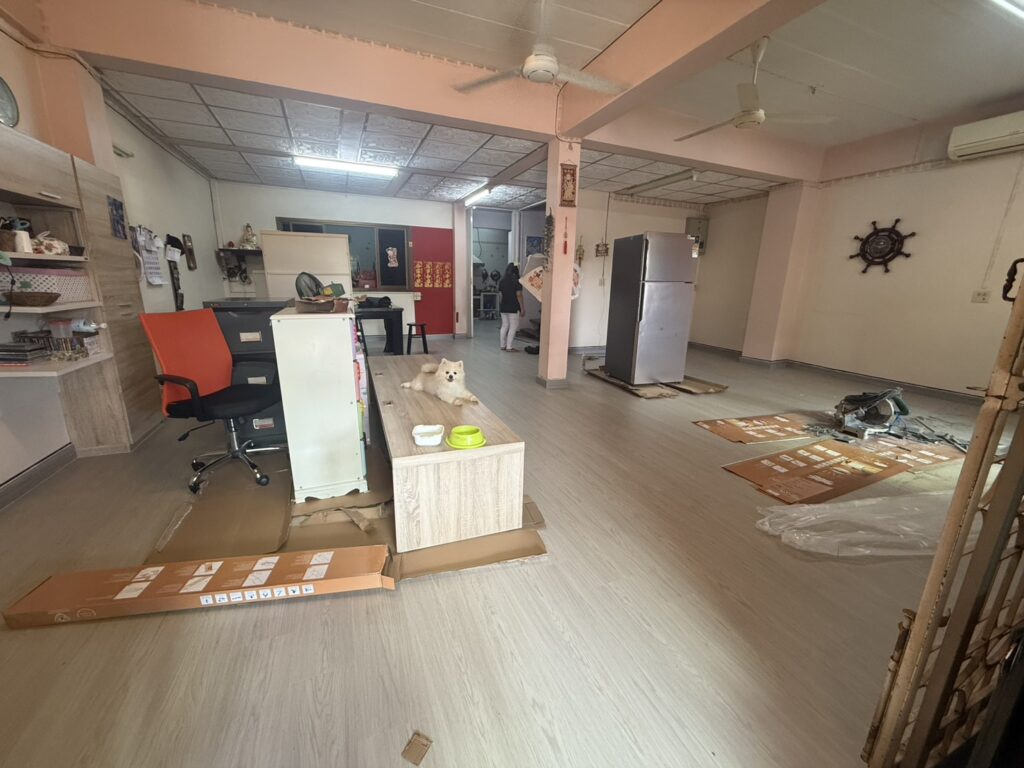
After installing SPC straight-patterned floor tiles.
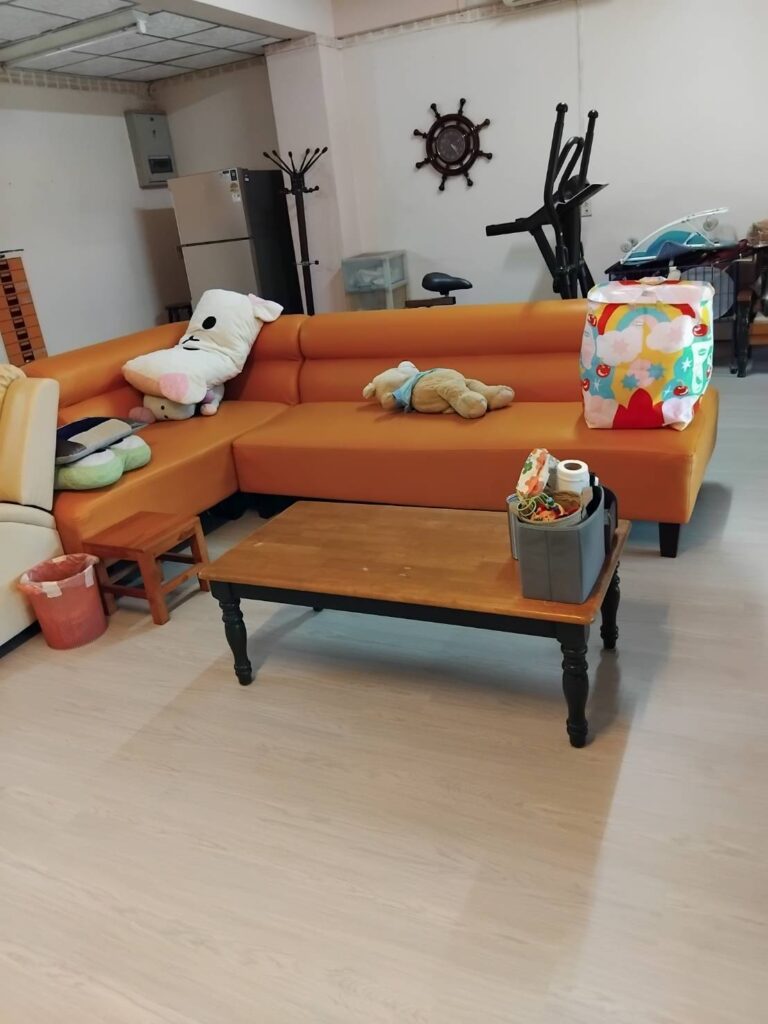
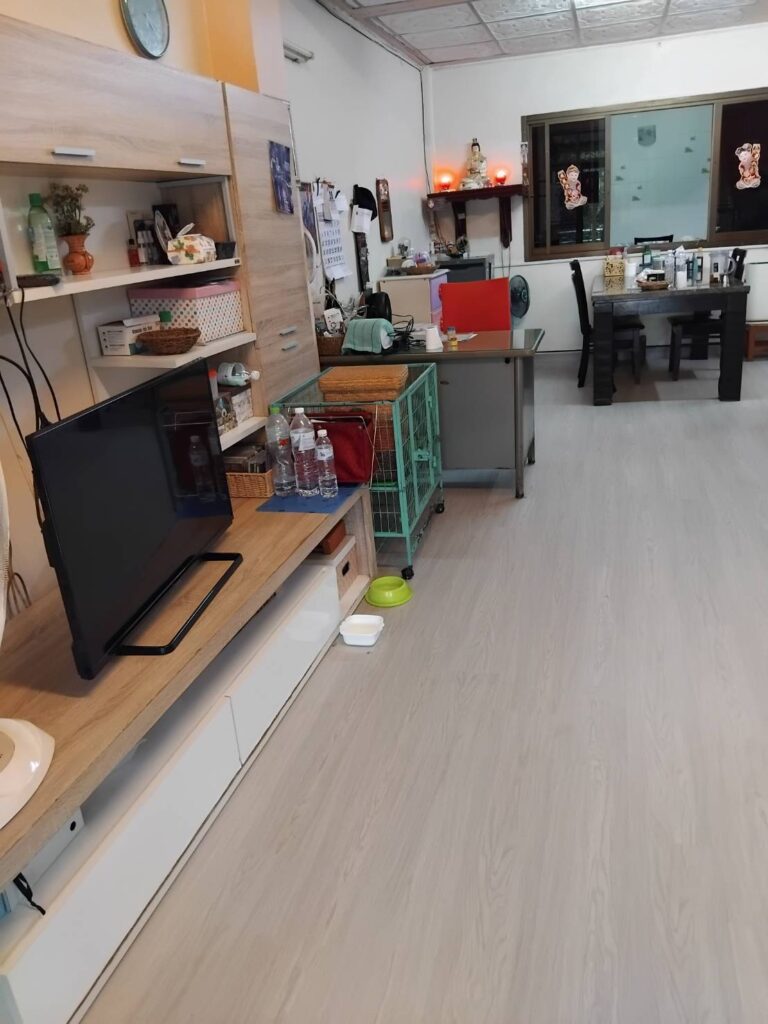
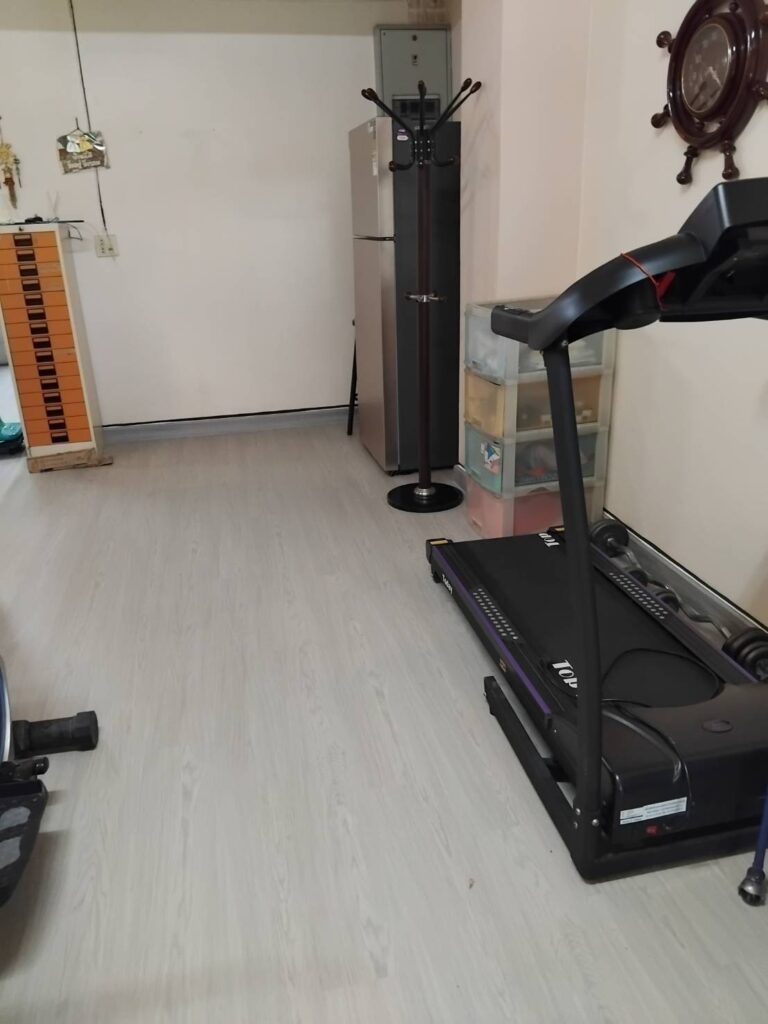
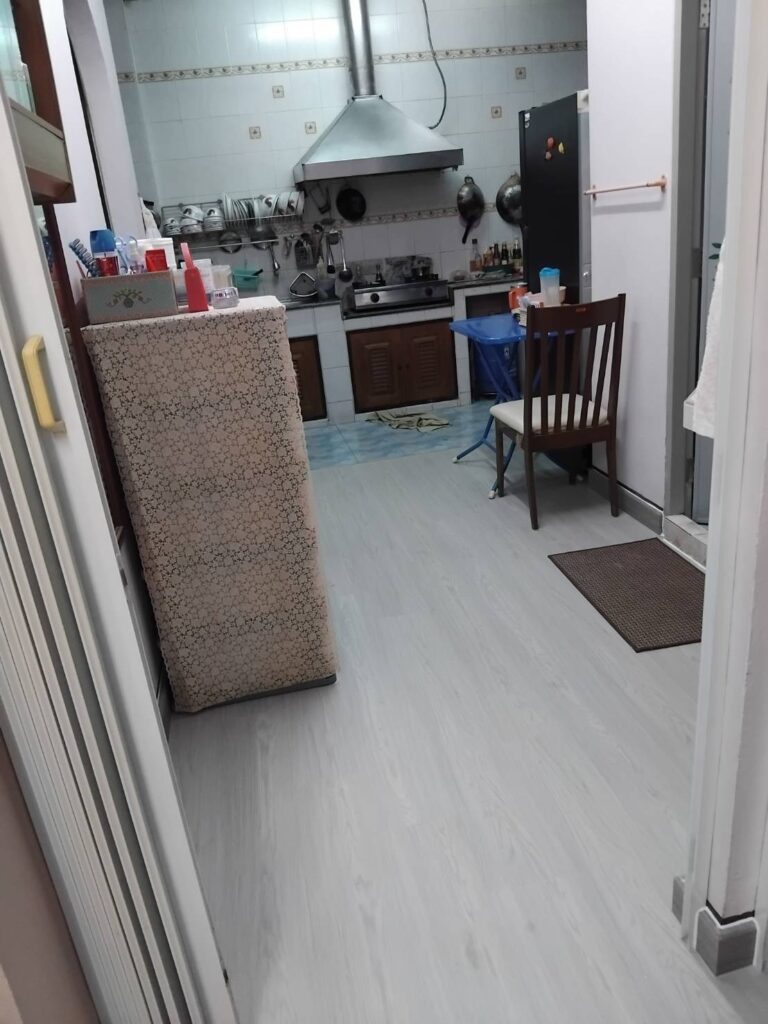
Before and after SPC tile installation
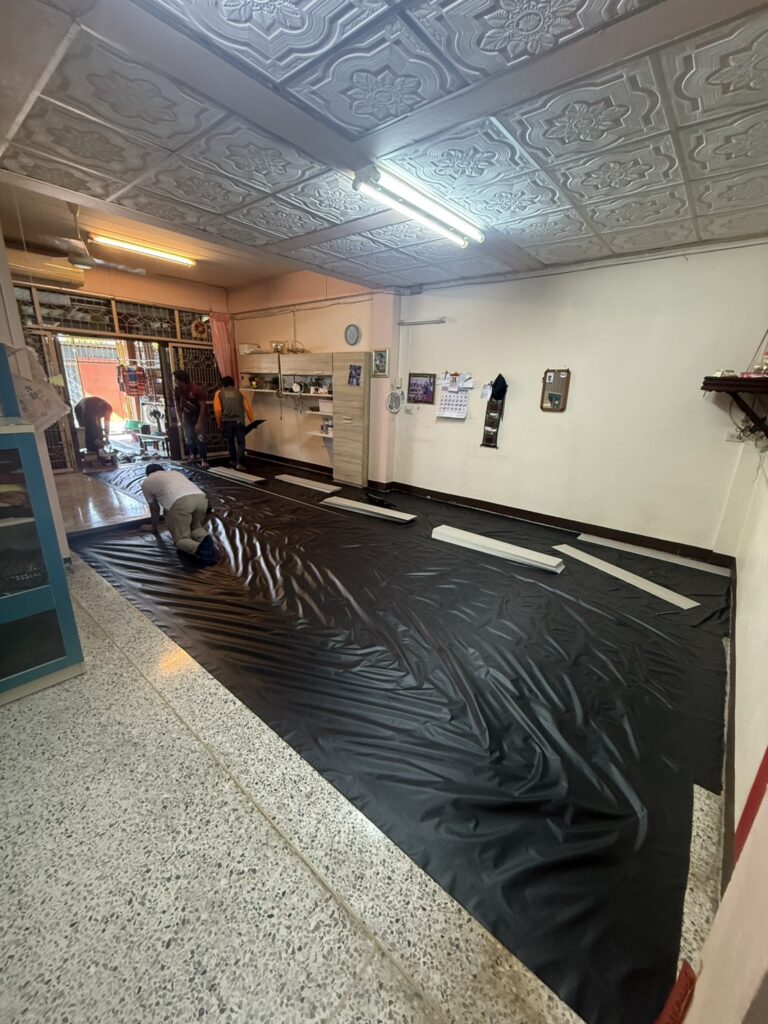
Before installation
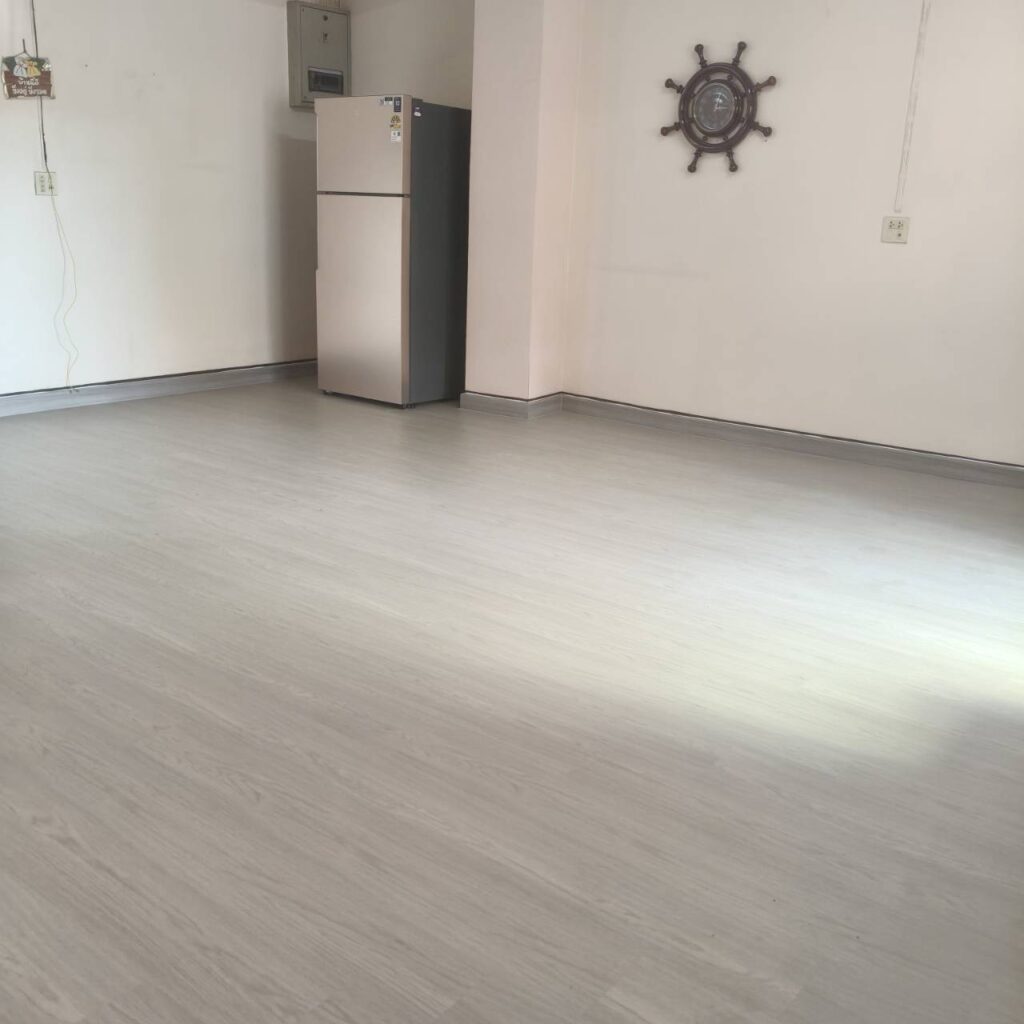
After installation
Quality guaranteed by customers.
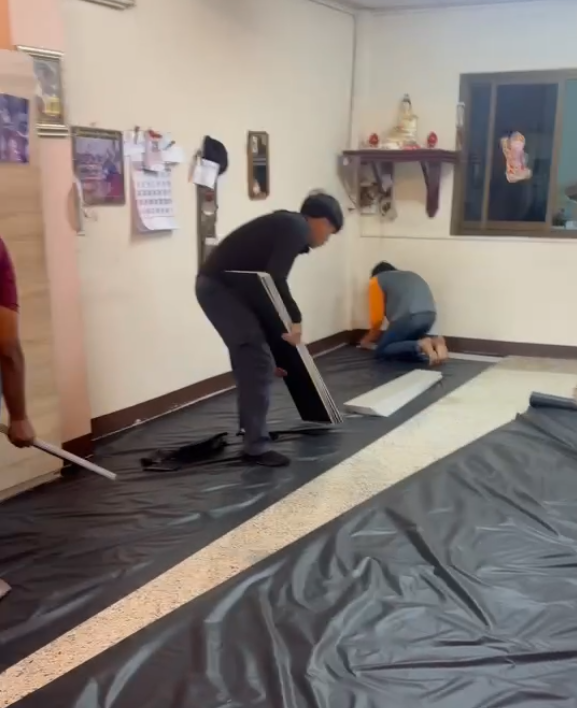
Important steps and techniques in SPC floor installation.
1) Prepare the surface before laying (very important step)
- The surface must be smooth, dry, clean, and free of dust, sand, or oil stains.
- Uneven surfaces should not exceed ±2 mm per 2 meters.
- If it’s a new concrete floor, allow it to dry completely for at least 14-28 days.
Uneven surface = misaligned pattern + loose joints in the long run.
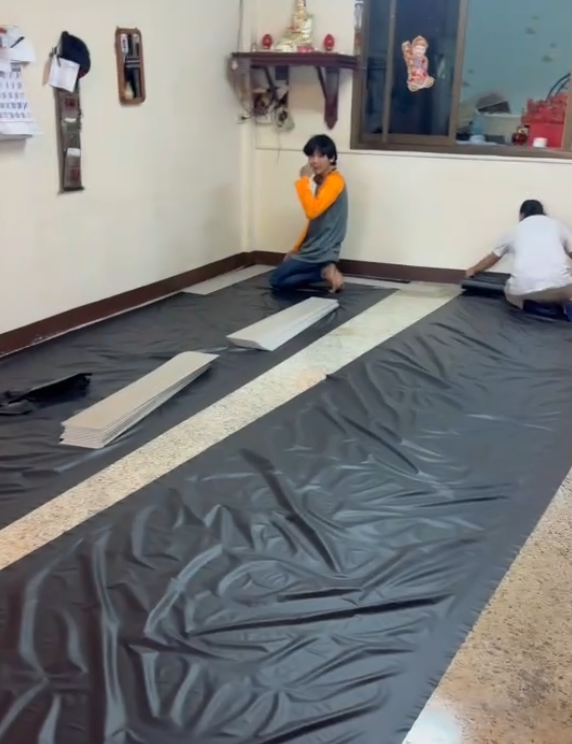
2) Plan the direction of the straight pattern
- It is common to lay the tiles along the length of the room or parallel to the light source to make the room appear wider.
- Use a string or laser line as a reference for the first row.
- The first row must be the straightest, as it determines the overall room layout.
3) Begin laying the first row
- Lay the tiles with the tongue and groove facing each other.
- Leave a 5-8 mm gap from the walls around the room (to allow for expansion).
- Use spacers to maintain alignment.
4) Lay in a “straight pattern”
- All tiles must start and end perfectly aligned; do not stagger.
- The end seams of the panels should be aligned in a straight line along the entire length.
- Gently tap with a rubber mallet and a support to ensure a tight lock.
Note: A straight pattern looks nice and smooth, but the seams will be clearly visible, so precision is crucial.
5) Cut the edges and corners.
- Use a sharp-bladed cutter/SPC saw.
- Always double-measure before cutting, especially for corners of columns, door frames, and baseboards.
6) Final finishing.
- Install baseboards/end caps (transition/end caps).
- Check all seams and test the floor to ensure it doesn’t bounce or make noise.